If you know my husband...you know he LOVES Dr. Pepper! No other soda compares...
The only time he drinks any other is when we go to the movies and we split a Cherry Coke (my favorite soda.)
I believe he inherited his taste for it from his wonderful Mother. She always had a Dr. Pepper a day!
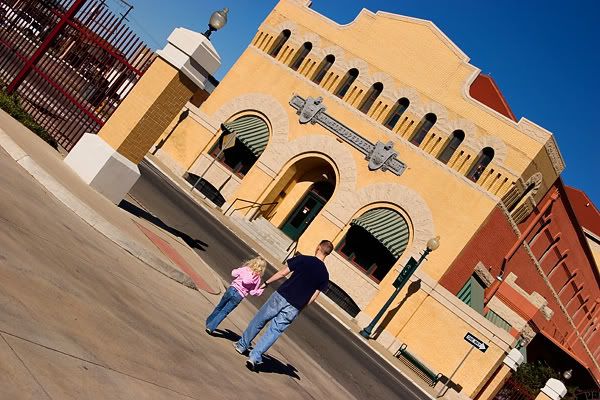
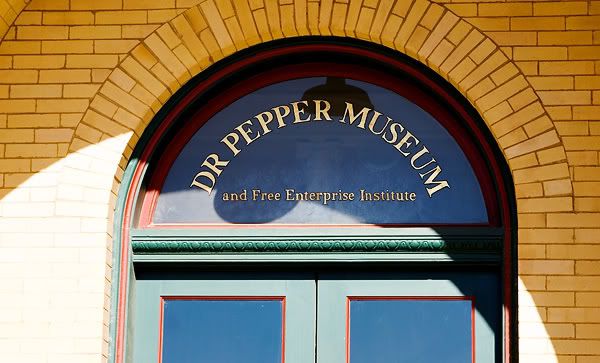
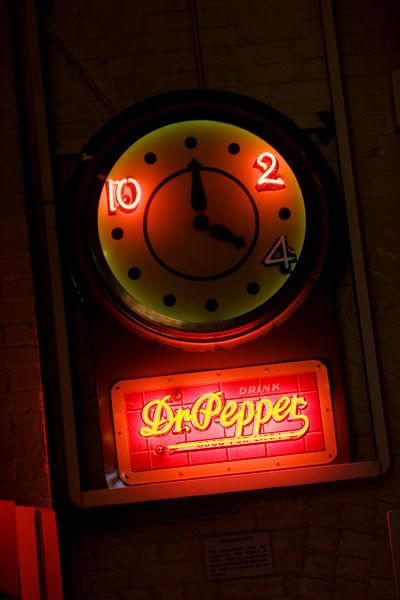
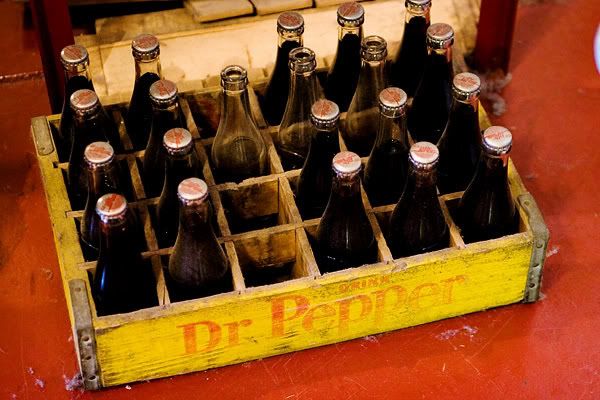
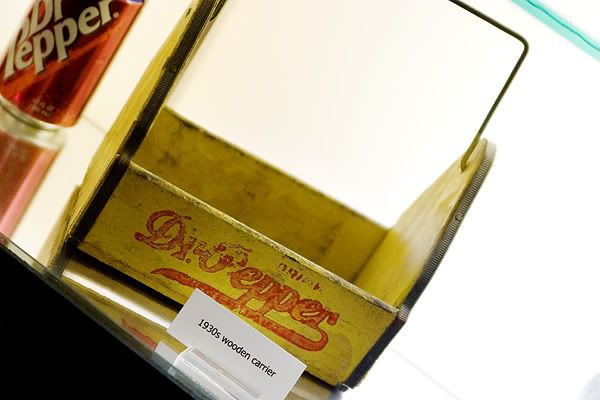
Them Texan's love their Dr. Pepper! :) We even visited the Dr. Pepper Museum in Waco, Texas back in 2006.
(Some photos from that trip at the bottom of this post.)
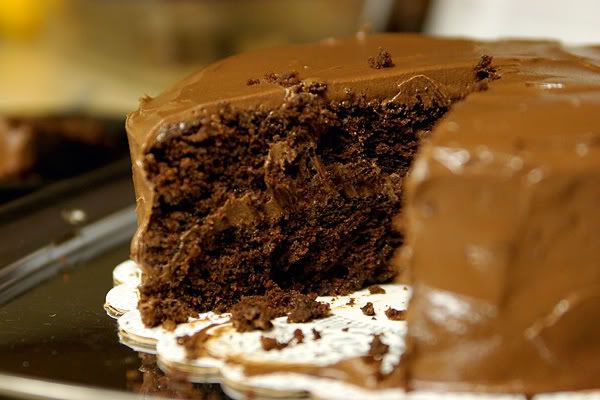
So when I found a recipe online for a Dr. Pepper CAKE!!! I knew we had to try it!
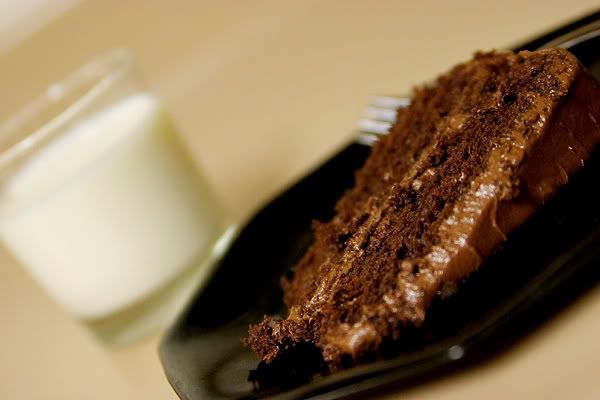
It's super yummy! Moist, and delicious. You can't really taste the Dr. Pepper in it...I think it just increased the moisture. This cake is very rich...a glass of ice cold milk is a must with it! :)
Here is the recipe:
Dr Pepper Chocolate Layer Cake
2 cups all-purpose flour
1 cup sugar
1 cup firmly packed dark brown sugar
1 cup unsweetened cocoa powder (natural)
1-1/2 teaspoons baking soda
1/2 teaspoon (scant) salt (Morton Kosher)
1 cup Dr Pepper (not Diet)
1/2 cup semi-sweet chocolate chips
8 tablespoons butter, softened, cut up
2 large eggs
1 cup buttermilk
1/2 cup canola oil
1-1/2 teaspoons vanilla extract
Silky Chocolate Butter Frosting:
3/4 cup granulated sugar
1/4 cup all purpose flour
3 Tbsp unsweetened cocoa
1 cup milk
1 cup butter (2 sticks, salted)
1 tablespoon vanilla extract
1 cup bittersweet (Ghirardelli) chocolate chips, melted and cooled
Preheat oven to 350°F. Spray two shiny 9-inch cake pans with Pam for Baking flour added cooking spray or grease and flour using your favorite method.
Sift together the flour, sugar, dark brown sugar, cocoa powder and baking soda; stir in the salt. Set aside.
Heat the Dr Pepper in a small saucepan over medium. When it starts to bubble, reduce heat to low, add the chocolate chips and stir until melted. Turn off the heat and stir in the butter. Set aside to cool for about 8 to 10 minutes.
With an electric mixer, beat the eggs, buttermilk, oil and vanilla for 2 minutes. At lowest speed, slowly add the Dr Pepper mixture and beat for 1 additional minute. Gradually add the dry ingredients (flour mixture), and beat until smooth by hand or using medium to low speed of mixer.
Divide the batter evenly between the prepared pans, and bake for 30 to 38 (mine took 38) minutes, or until a toothpick comes out clean. Cool in pans for 15 minutes, then invert onto cooling racks, lift off pans and allow to cool completely before frosting. The frosting requires cooling time, so you may want to get started on that right away.
Prepare frosting. In 2 quart saucepan, stir together sugar, flour and cocoa until evenly combined. Add milk and stir until smooth - don’t worry if there are a few lumps because they will smooth out as you cook.
Turn heat to medium and cook, stirring constantly until mixture thickens and boils. Reduce heat to low, cook 2 minutes, stirring all the while. Remove saucepan from heat; cool completely. This should take 40 minutes to an hour. You can let it cool while the cake cools if you want.
Now for the fun part! In large bowl with mixer at medium speed, beat softened butter until creamy. Gradually beat in cooled milk mixture, vanilla and melted chocolate.
Frost the cake.
Some pictures from our Dr. Pepper museum visit just before we moved to Alaska in late 2006.


That cake looks SOOO yummy! I am going to have to try it!
ReplyDeleteThat museum is so cool!
The cake looks delicious !! I love Dr Pepper too. Can't buy it here though ...
ReplyDeleteMay have to try the cake while we're in the States !! :)
So, you made it! And kept it at home :o)
ReplyDeletelooks yummy! Can't wait to try it!! :)
ReplyDelete